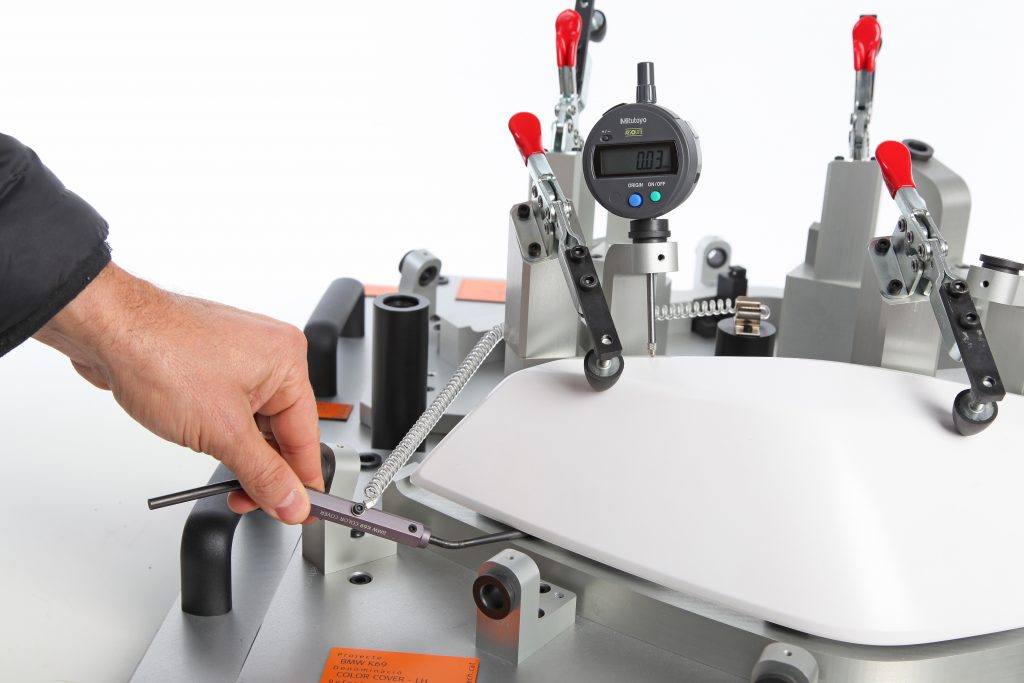
Gauges are measuring instruments that are used to determine, directly or indirectly, whether a dimension is larger or smaller than another one that is used as a reference. Some gauges can measure the exact size of the object to be calibrated, but most of them only indicate whether the dimensions of the object are within the specified limits, known as tolerance.
Gauges can work mechanically or electrically, and are generally classified into two types: fixed or deviation. Fixed gauges are used to indicate whether a dimension is larger or smaller than the standard. Deviation gauges are used to indicate the difference between the measured dimension and the standard.
There are many types of gauges, each with its own characteristics and specific applications. Some of the most common ones are:
- Hole or pin gauges: they are used to check the diameter and shape of holes or shafts without thread. They consist of a cylindrical bar with ends of different diameter, marked as “go” and “no go”. If the size of the hole is within the tolerance, the “go” end will enter the hole, while the “no go” end will not.
- Ring gauges: they are used to check the outer diameter of cylindrical parts. They work with the same principle as hole gauges, but with rings instead of bars. They also have sections “go” and “no go”.
- Spring or clamp gauges: they are used to check the outer diameter, length or thickness of non-cylindrical parts. They have a C-shape, with outer jaws “go” and inner jaws “no go”. They are applied over the part to be measured and checked if the jaws make contact or not.
- Thickness gauges: they are used to measure the thickness or separation between two surfaces. They consist of a series of metal sheets of different thicknesses, which are inserted between the surfaces to be measured. The thickness of the sheet that enters with a slight friction indicates the desired measure.
- Thread gauges: they are used to check the pitch or number of threads per inch or centimeter of screws or nuts. They consist of a series of blades with triangular teeth spaced according to different pitches. They are applied over the thread to be measured and checked if the teeth match or not.
- Radius or fillet gauges: they are used to check the profile or curvature of objects. Two of the most common types are radius gauges, which are packages of blades with concave and convex circular profiles that are used to check the radius of grooves or corners, and fillet gauges, which are blades with curved profiles that are used to check the shape and size of fillets.
Gauges are very useful tools to ensure the quality and accuracy of manufactured parts. However, to obtain reliable results, it is necessary to follow some recommendations:
- Choose the appropriate type of gauge according to the dimension and shape to be measured.
- Adjust the gauge according to the standard and tolerance required.
- Clean and dry both the gauge and the part to be measured before use.
- Apply the gauge carefully and without forcing it over the part to be measured.
- Read and interpret correctly the result of the gauge.
- Keep the gauge in good condition, protecting it from dirt, moisture and shocks.
- Calibrate the gauge periodically to verify its accuracy.
By following these tips, we can make the most of the advantages of gauges and obtain accurate and consistent measurements. Gauges are essential instruments in industry and engineering, and help us ensure the quality and performance of our products.

